- 1 Minute to read
- Print
- DarkLight
- PDF
Creating seating plans
- 1 Minute to read
- Print
- DarkLight
- PDF
How to create a seating plan
Seating plans can be created for the classes that you teach.
In order to access a class that you teach, select it from your teaching overview page using the Classes drop-down.
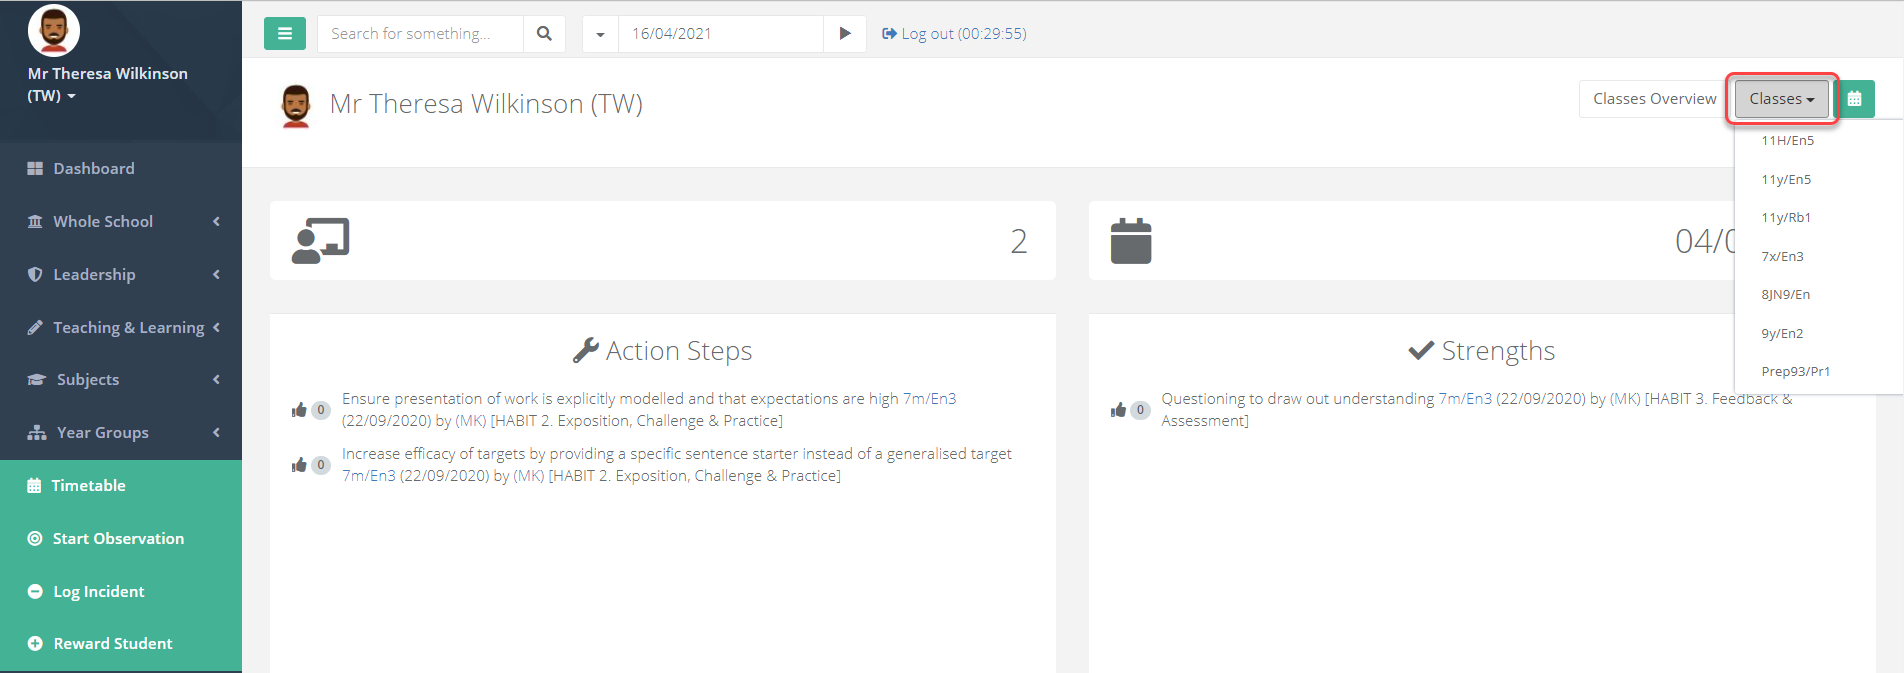
Within the class page, scroll down to the heading Seating. If it is minimised, select it to expand it.
The different rooms that the class is taught in will display as different tabs. A seating plan can be created for each room.
Select the room you wish to create a seating plan for, and then select Add Layout.
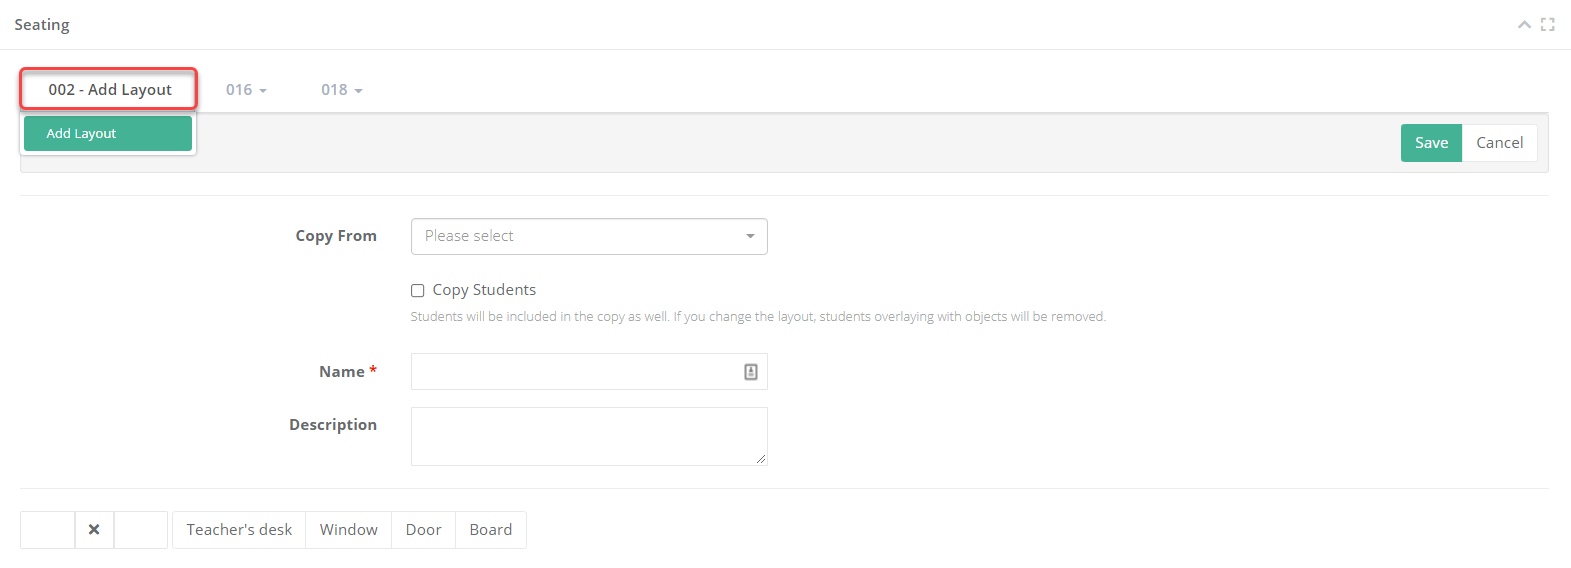
Enter a name for the seating plan, and then enter a grid size in the box below. The adjacent options allow you to draw windows, doors, boards, and the teacher's desk onto the grid. Select an option and click on the grid to paint this onto your seating plan.
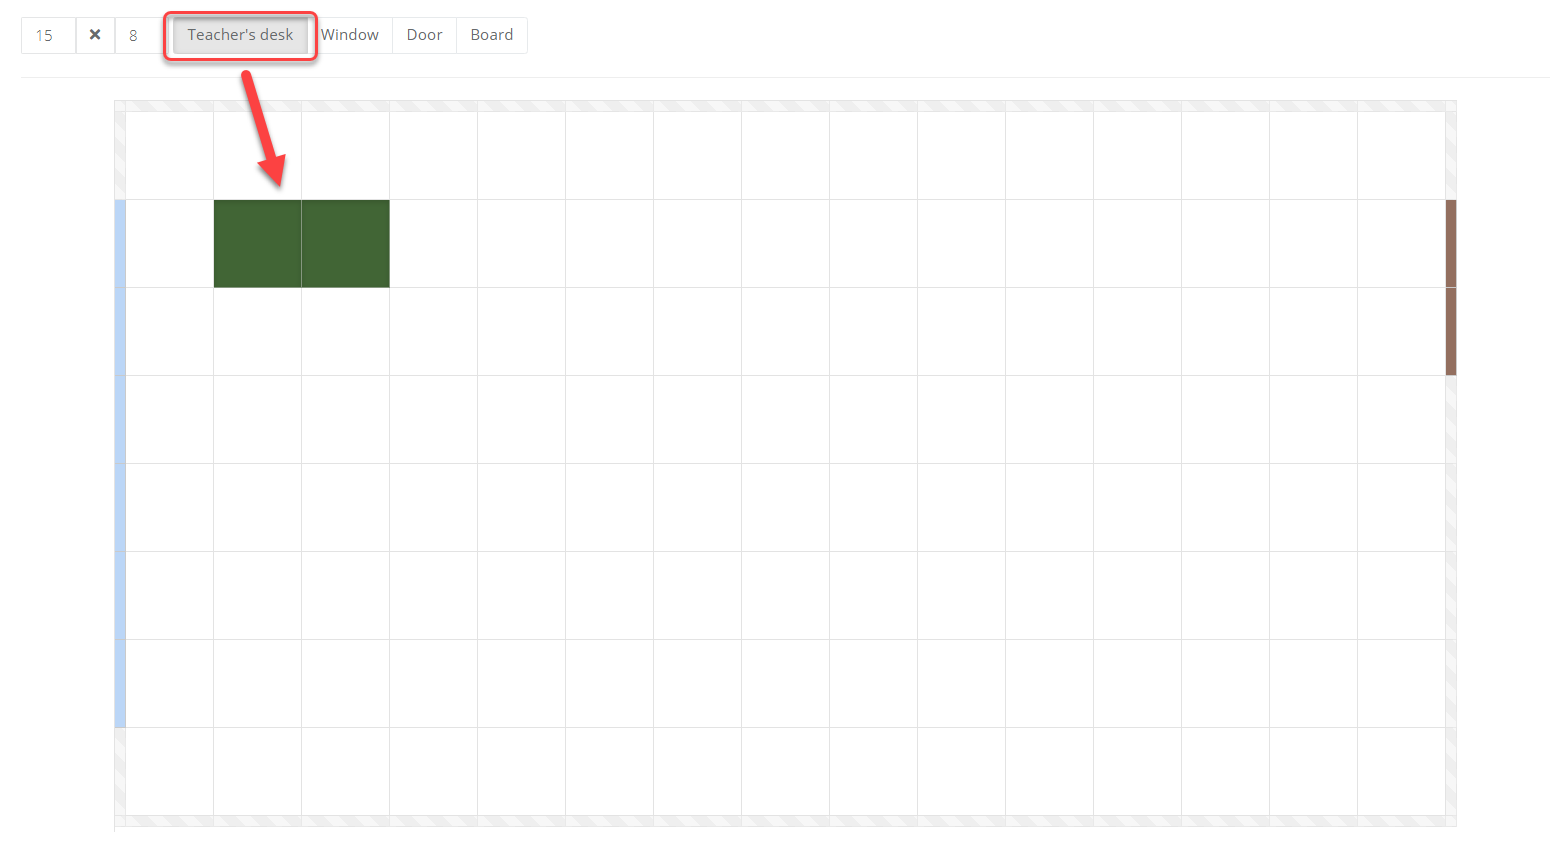
Save the layout when complete. Once saved, select Edit Students.

Click and drag students onto your seating plan and Save when complete.
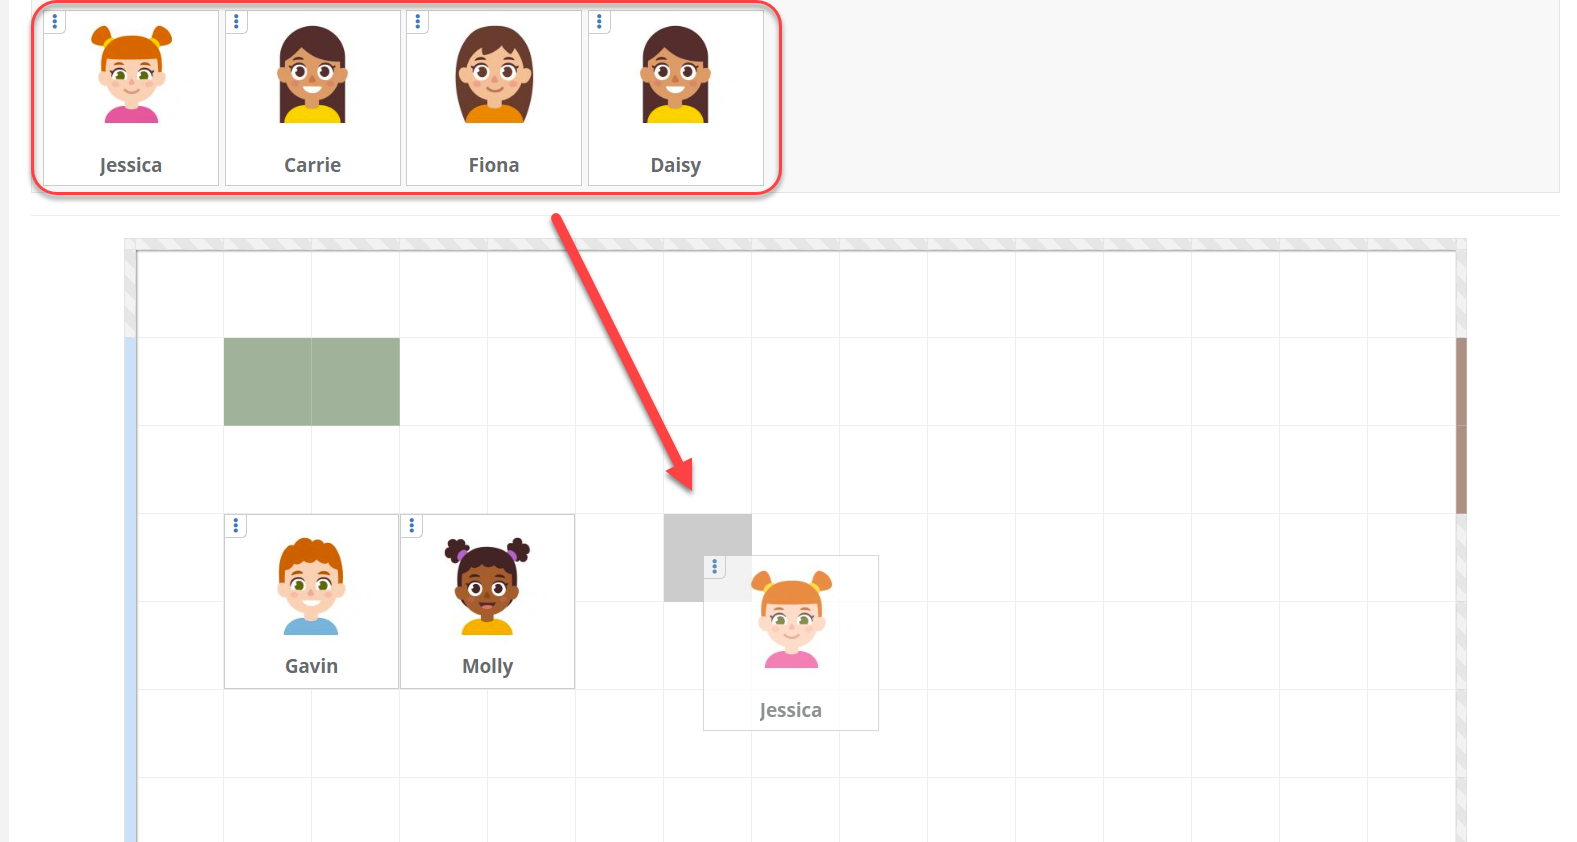
How to copy a seating plan
In order to access a class that you teach, select it from your teaching overview page using the Classes drop-down.

Within the class page, scroll down to the heading Seating. If it is minimised, select it to expand it.
Select the room you wish to create a seating plan for, and then select Add Layout.

In the Copy From field select the seating plan you want to copy. This will copy the layout. There is also an option below to copy the student placement from the same seating plan.
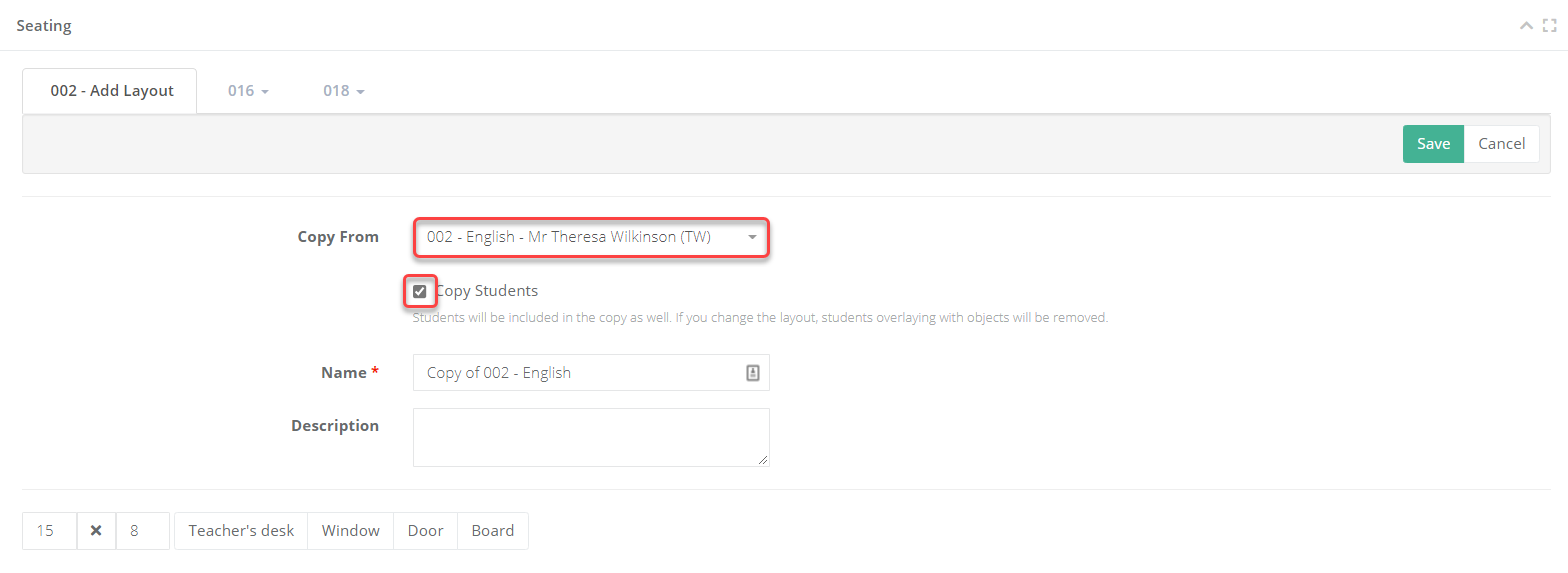
Adjust the seating plan as required and Save when complete.

