Curriculum Tracking Grids
- 2 Minutes to read
- Print
- DarkLight
- PDF
Curriculum Tracking Grids
- 2 Minutes to read
- Print
- DarkLight
- PDF
Article summary
Did you find this summary helpful?
Thank you for your feedback!
Curriculum tracking grids
This article explains how to upload, assign, access, complete and filter curriculum tracking grids.
Accessing curriculum grids
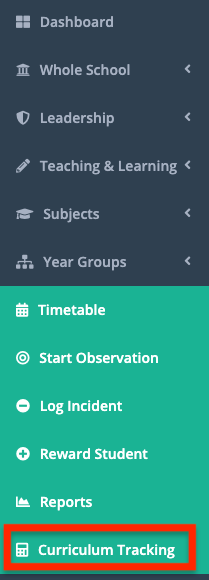
Login to your ProgressTeaching platform as usual, then click on the ‘Curriculum Tracking ’ link in the left-hand menu.
Searching for and opening curriculum grids
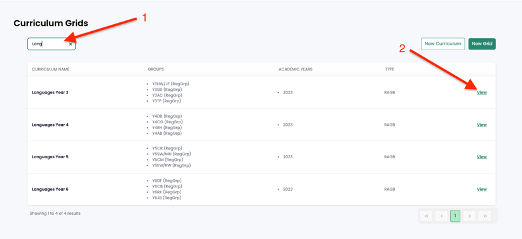
Start typing the name of the subject for the curriculum grid you want to view and the list will automatically filter (see number 1 below). Click on the green ‘View’ link to open your curriculum grid (see number 2 below).
Entering data
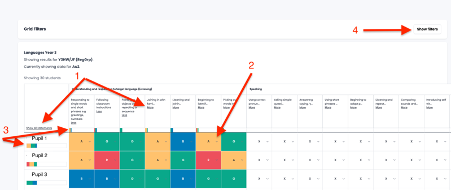
- To view the full text for individual statements, which are ‘collapsed’ as default, click on the ‘More’ button underneath each one or the ‘Show all statements’ button at the start of the line (see number 1 below).
- To enter data, click on the dropdown arrow in each cell, then select your preferred colour rating (see number 2 below).
- As different colour ratings are added, your grid will automatically track individual pupils’ progress across the statements as well as the class’s progress in each statement (see number 3 below).
- Access the filters for your grid by clicking on the ‘Show filters’ button in the top right-hand corner of the page (see number 4 below).
Filtering
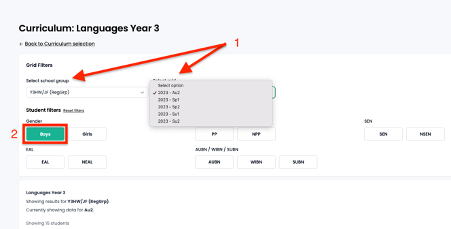
- Use the ‘Select school group’ and ‘Select grid’ filters to switch between curriculum grids (see number 1 below).
- Click on any of the filter buttons, for example, ‘Boys’ (see number 2 below), the filter will turn green, and your class list will update automatically.
Uploading new curricula
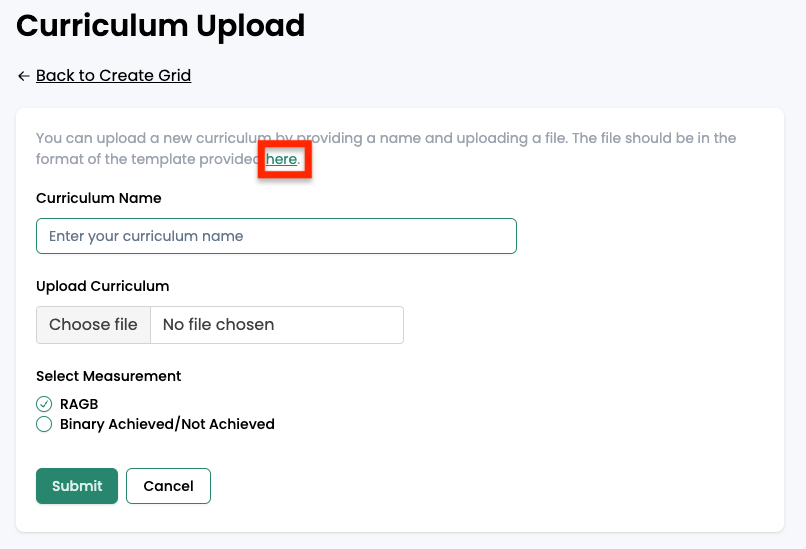
Click on the 'New curriculum' button on your landing page.

Download the excel template by clicking on the 'here' link.
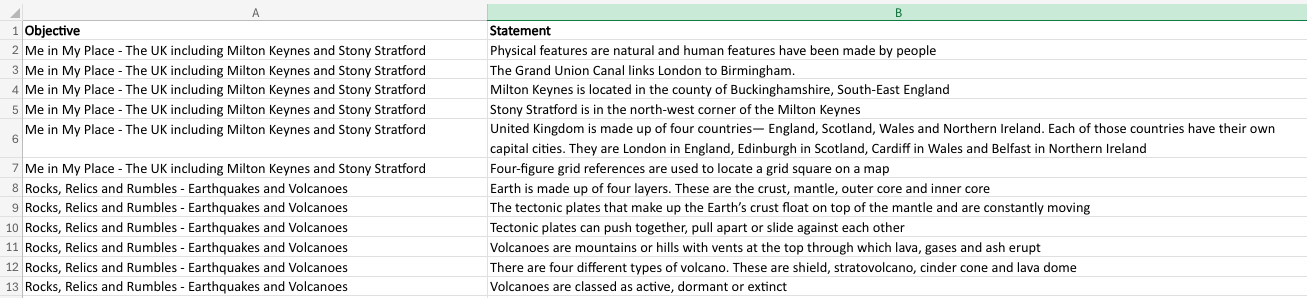
Enter your objectives and statements into the excel spreadsheet, ensuring that your objectives in Column A are repeated for every statement linked to them in Column B.
Now upload your curriculum:
- Give your curriculum a name, e.g. Geography Year 3.
- Choose the excel spreadsheet you have been using to create your curriculum in the 'Choose file' box.
- In the 'Select Measurement' option, choose how you want to track pupils' progress against your objectives by clicking in the circle next to your chosen option (the default is RAGB):
- RAGB (Red, Amber, Green, Blue)
- Binary Achieved / Not Achieved
- Click on 'Submit' and your curriculum will now be available to assign to grids.

Creating a new grid
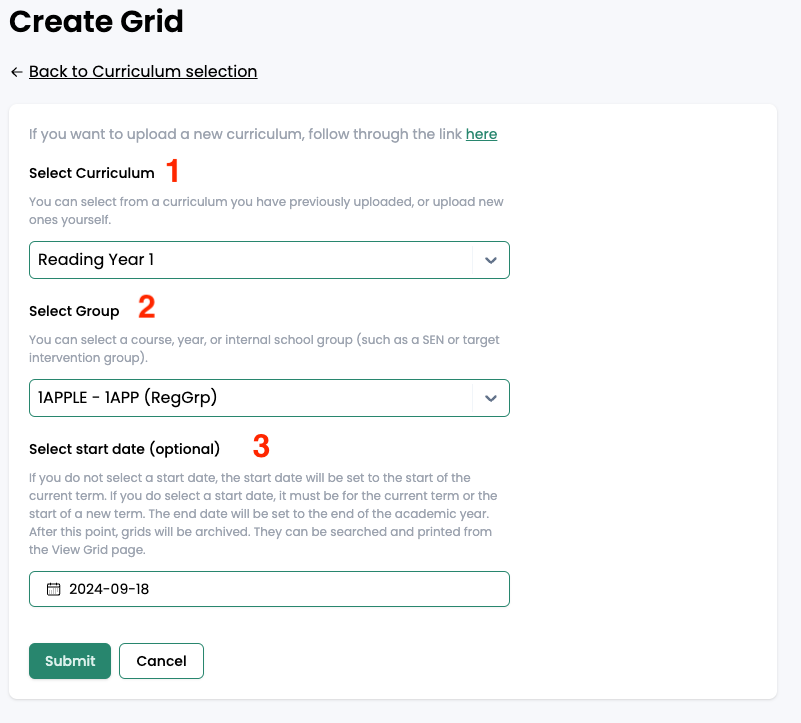
To assign the curricula you have created to classes and / or year groups, first click on the 'New grid' button.

Now create the grid:
- Select the curriculum you have uploaded from the dropdown menu.
- Select the group to which you want to assign the curriculum. These groups will be automatically synced from your MIS. NB select a class with 'RegGrp' in brackets to assign your curriculum to classes and a group with 'YearGrp' to assign your curriculum to a whole year. It is useful to do this so leaders can see a class's and a whole year group's progress in the curriculum.
- Select the date from which you want your grid to be available. The default setting is today's date.
- Click on 'Submit' and your grid will now be available on the 'Curriculum Grids' page.
Was this article helpful?