Markbook management
- 4 Minutes to read
- Print
- DarkLight
- PDF
Markbook management
- 4 Minutes to read
- Print
- DarkLight
- PDF
Article summary
Did you find this summary helpful?
Thank you for your feedback!
Markbooks allow teachers and leaders to enter student data within ProgressTeaching which can then be analysed once the data has been checked and the assessment term is published.
How to access your markbooks
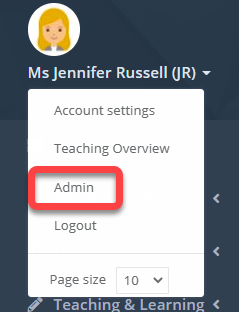
Access the Admin area and select Markbooks > Markbooks from the menu.
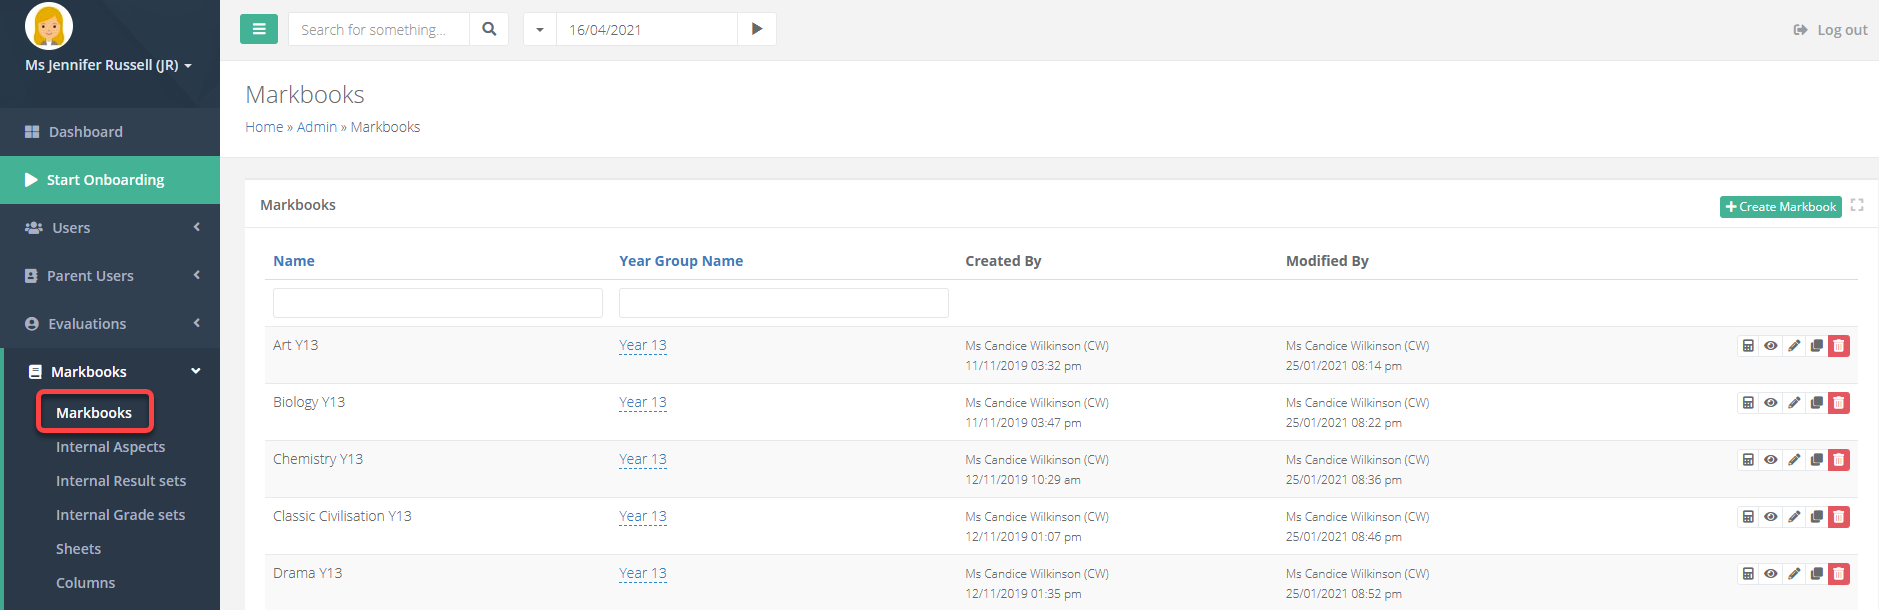
You will see a list of all markbooks that have been created in the system.
Selecting the eye icon will allow you to view a markbook. Selecting the pencil icon will allow you to edit a markbook.
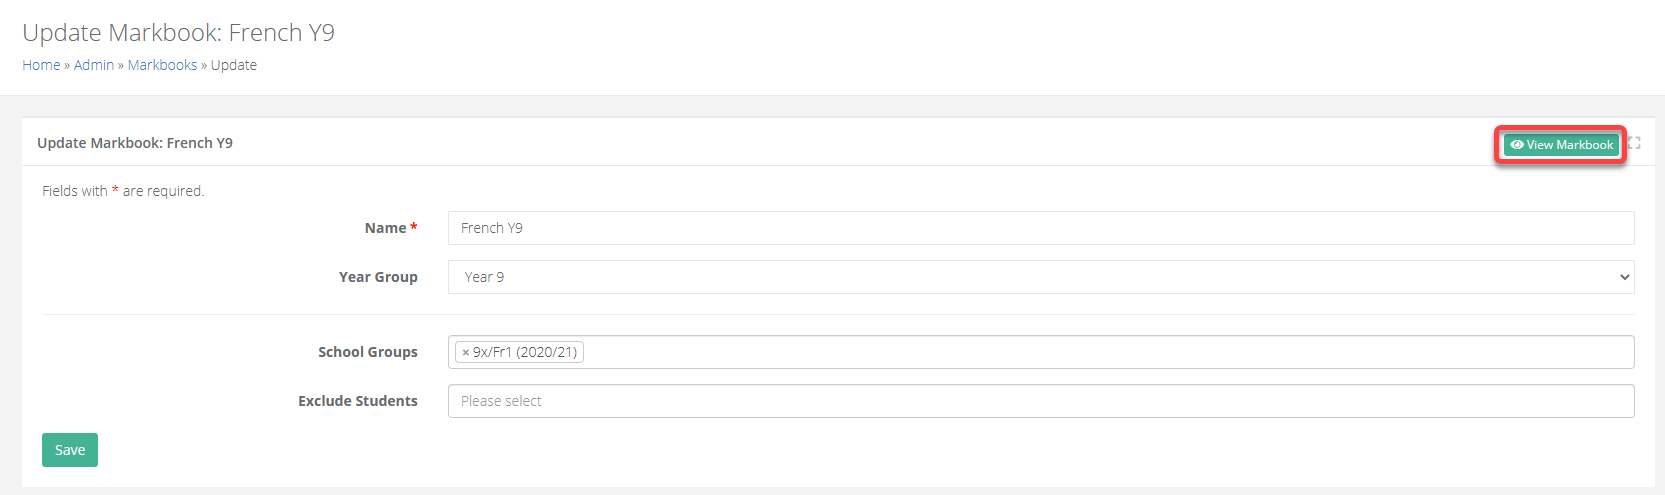
If you are viewing the markbook, there is an option on the top right to edit it.

If you are editing the markbook, there is an option on the top right to view it.
Adding classes to a markbook
Groups can be assigned to markbooks to populate it with students. These are typically the timetabled classes within the MIS (Internal) or can also be custom created (External).
It is important to attach the right subject groups to a markbook so that the correct students appear.
Access the Admin area and select Markbooks > Markbooks from the menu.
Search for the markbook you want to adjust and click the pencil icon to edit it.
3 Within the School Groups field input all of the groups/classes that the markbook should display pupils for.
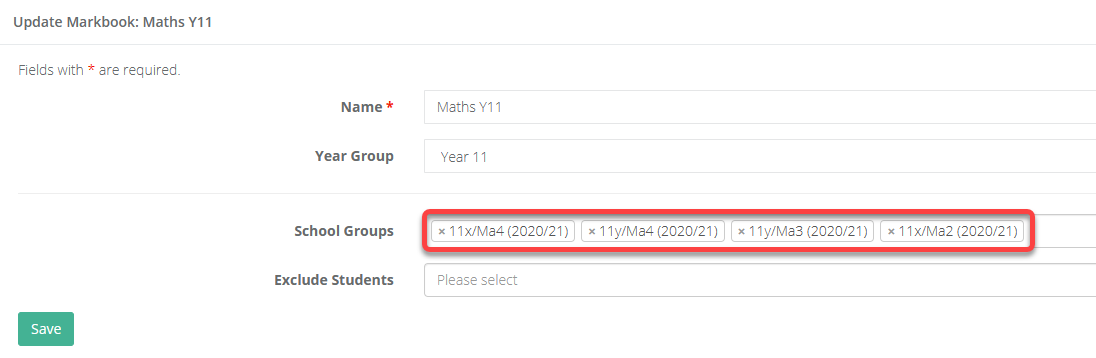
- The academic year that the group pertains to will also display next to it. Please take care to add the relevant classes for the current academic year.
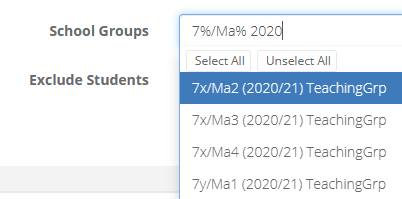
You can add all classes for a subject quickly and easily by using the '%' character when searching for classes. This special character acts as a ‘wildcard’ in searches.
For example, you may have many Maths classes to add, and the class codes may differ by one or two characters like the below examples:
- 7X/Ma1
- 7X/Ma2
- 7Y/Ma1
- 7Y/Ma2
Typing ‘7%/Ma% 2020’ would return all the classes listed for the 2020 academic year. You can then press Select All to add all of the classes returned by the search in one click.
The Exclude Students field tells the system to remove students from a markbook regardless of whether they are in a group. This is useful, for example, if a student is timetabled for a subject but not studying it or taking the exam.
Save when you have finished making any adjustments.
Manage markbook columns in bulk
There is a page that shows all columns across all markbooks in the system, allowing you to filter for, review, and adjust these columns easily.
This might be useful for example if you want to hide certain columns across all subject markbooks, or adjust a formula across multiple markbooks.
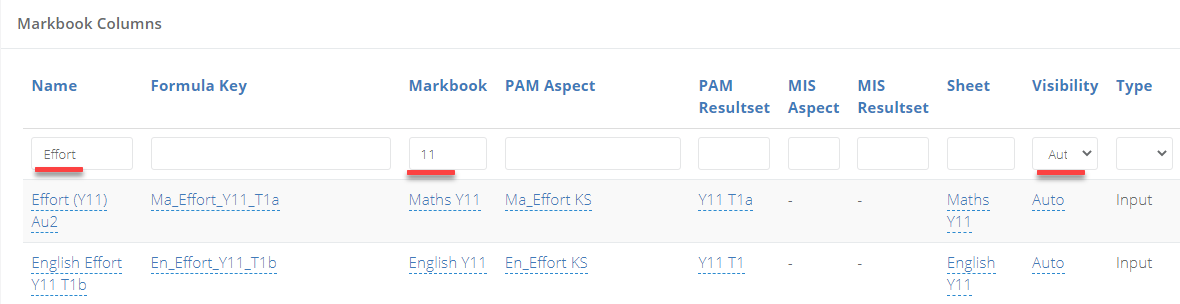
Access the Admin area and select Markbooks > Columns from the menu.
The landing page will display all columns across all markbooks.
You can filter for the columns you want to look at or adjust by using the boxes under the headings on the page. There are options to copy, edit, and delete the columns to the right of each line.
Adding columns to your markbook
Access the Admin area.
Select Markbooks > Markbooks from the menu.
Search for the markbook you want to adjust and click the pencil icon to edit it.
Scroll down to the columns section. You should see the following area:
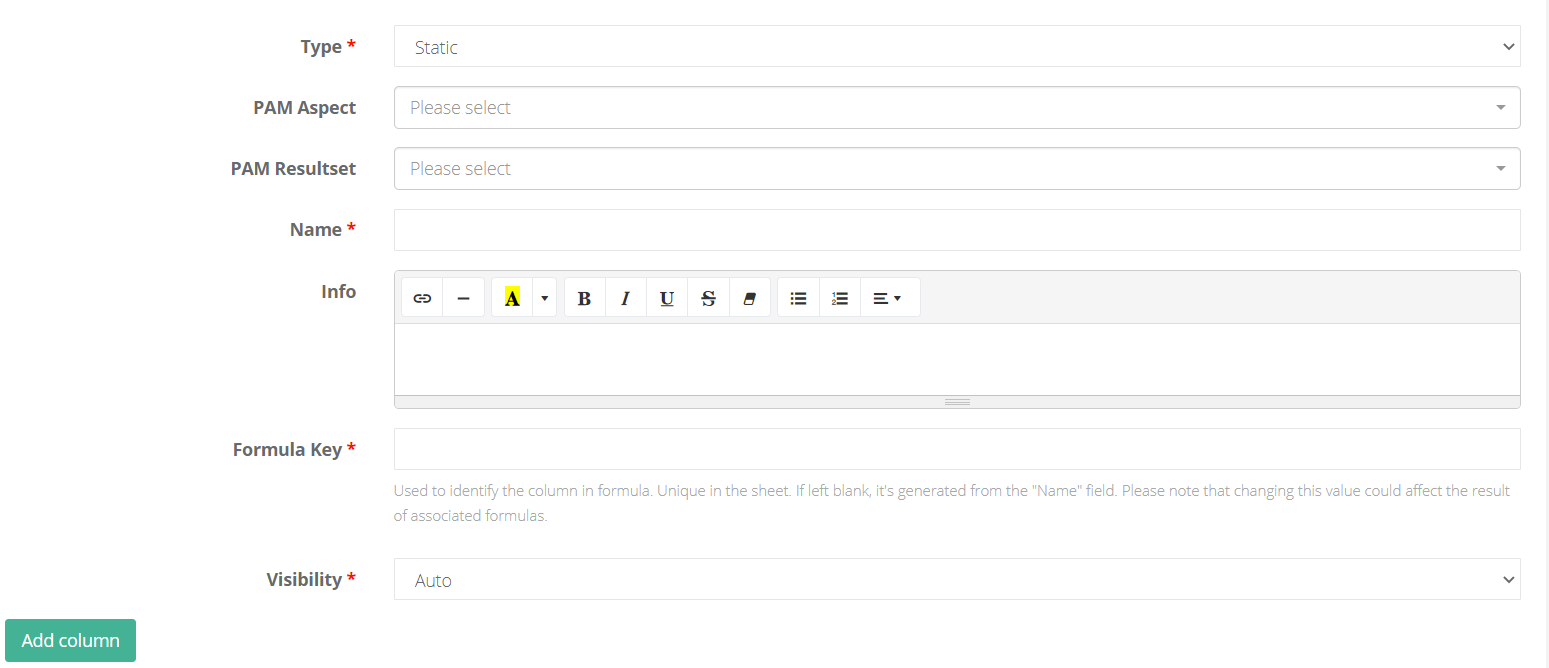
- Select the Type of column.
| Type | Description |
|---|---|
| Formula | Formula columns use references to other columns in the markbook to run a calculation (e.g. quality check columns) |
| Input | Input columns are used for data entry by a staff member. |
| Static | Static columns display data stored elsewhere in ProgressTeaching (for example, contextual data such as reading age or CAT scores) |
| Static MIS | Static MIS columns display data stored in your MIS |
Enter the Aspect and Result set for the column.
Enter a Name for the column, this appears at the top of the column in the markbook.
Leave Info blank.
The Formula key is used to give an identifier to the column so that it can be used in formulae. If you leave this column blank, the identifier is generated from the Name field above.
Set the Visibility of the column.
| Type | Description |
|---|---|
| Auto | The column will be hidden to viewers until it is time for the data drop with which it is associated. |
| Visible | The column will always be visible to viewers. |
| Hidden | The column will not be visible. Sometimes you will want a ‘formula’ column to be hidden from teachers inputting data. |
| Restricted | The column will only be visible to those with the required permissions (those with the ‘view-restricted’ user role) |
Press Add column when complete, the page will refresh and you should see your new column near the top.
You can adjust the Sort order to re-order the column within the markbook by selecting it and typing in a different number.
Video guide
Was this article helpful?