- 1 Minute to read
- Print
- DarkLight
- PDF
School groups in ProgressTeaching
- 1 Minute to read
- Print
- DarkLight
- PDF
ProgressTeaching allows users to create custom groups. These can be used for a number of purposes including:
How to create a custom group
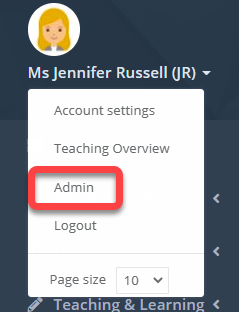
Access the Admin area, and select School Groups from the menu.
You will be presented with a page showing all groups both internal (created within ProgressTeaching) and external (being read directly from your MIS).

Click the plus icon on the top right of the space to create a new group.
In the Type field, select UserGrp for groups of students only, and TeachingGrp if you need to add staff to the group as well.

Type a Name, and a Code for the group. The code is what you will see when searching for or filtering for the group in the platform.

Set the group to be Active, and define the dates that it should remain active for.

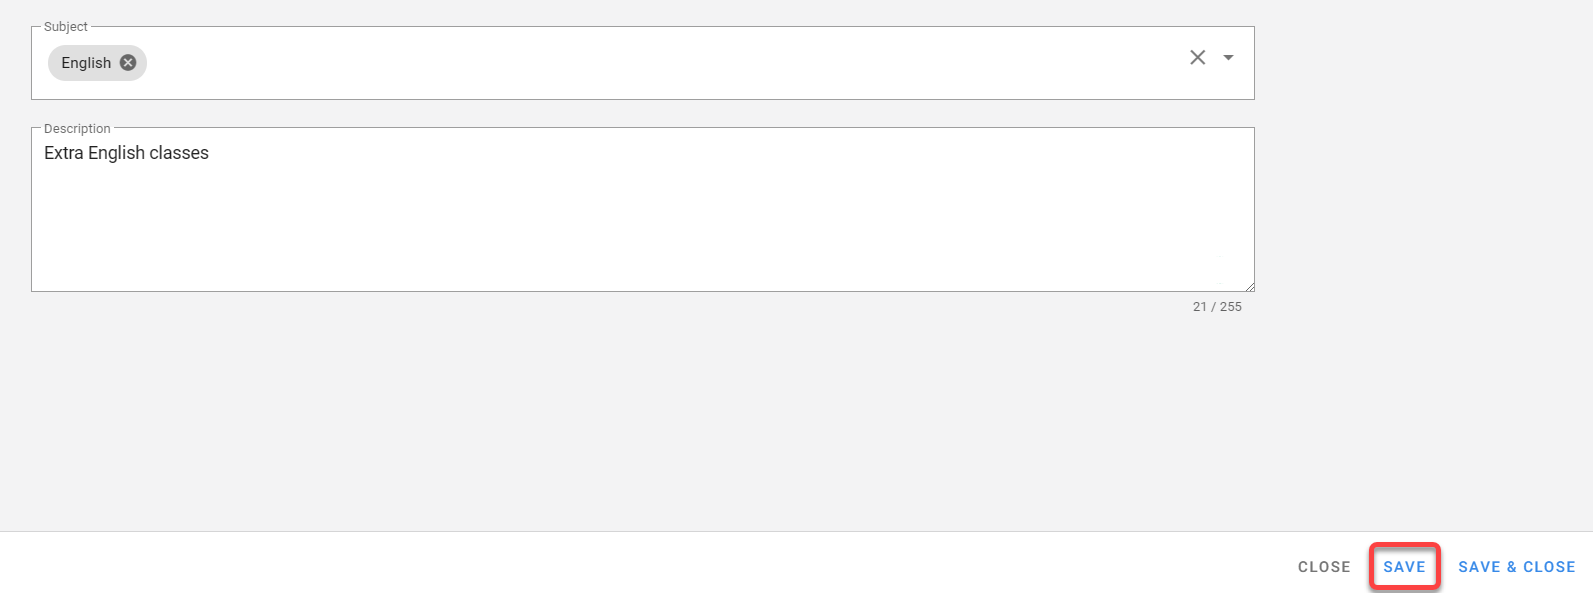
If you selected TeachingGrp in step 4, then you can also attach it to the relevant subject.

Enter a description and then Save.
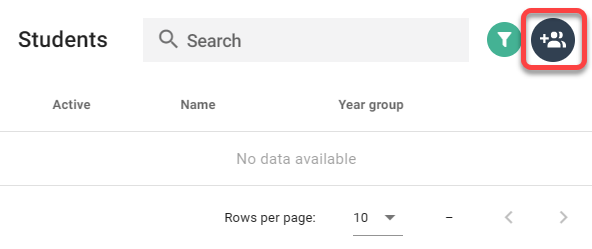
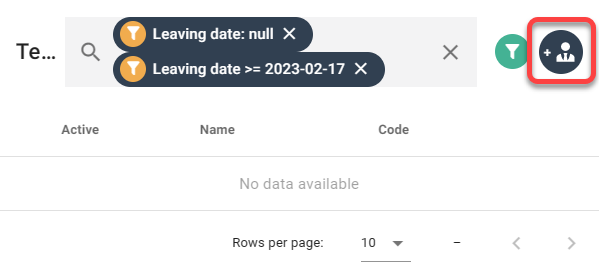
At this point, you will be able to add students to the group. Scroll down to find the Students box, and click the Add student(s) icon on the top right.
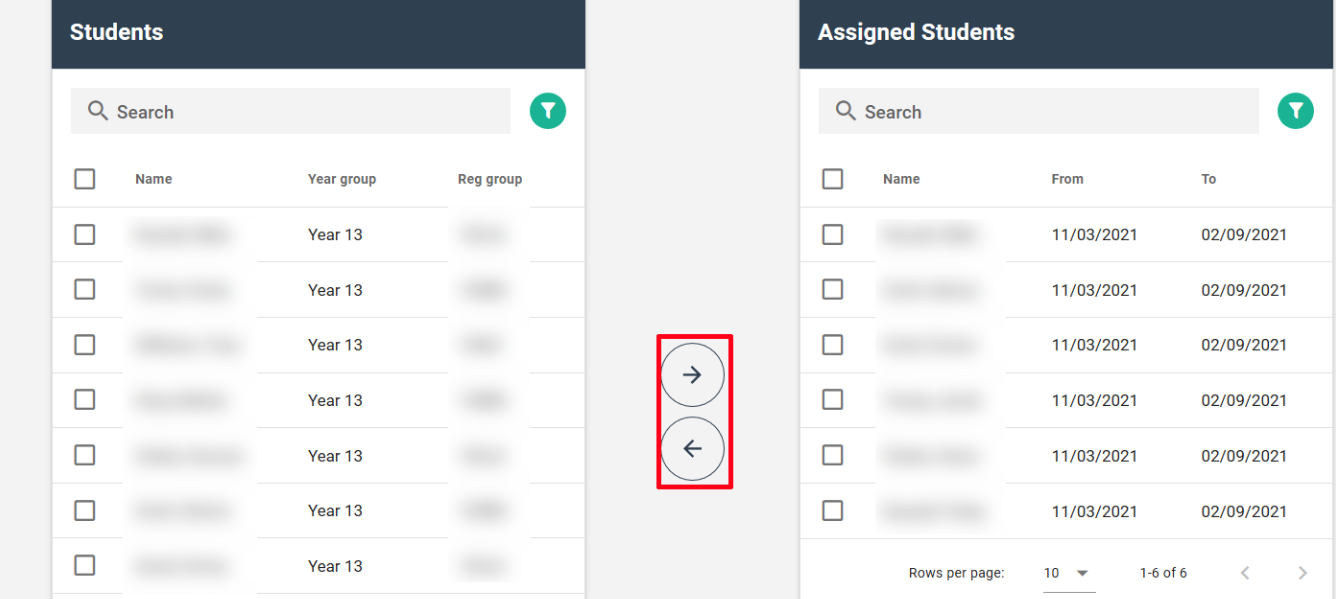
You can then search for and select your students, clicking the arrow icons to move them into the Assigned Students list as shown.
If you selected TeachingGrp in step 4, then you can also add teachers to the group from the Teachers box, by clicking the Add teacher(s) icon on the top right, adding them in the same manner as the students above.
You can then click Close at the bottom right to leave the assignation screen, then Save and Close to exit the school group.


