- 4 Minutes to read
- Print
- DarkLight
- PDF
How to write and send letters to parents
- 4 Minutes to read
- Print
- DarkLight
- PDF
ProgressTeaching allows any user to write letters for parents and submit them for approval.
Some permissioned users can send letters without the need for approval.
Parents are unable to respond to letters from the system unless there is a reply slip with it.
How to start writing a letter
- Select Leadership > My Letters from the main menu
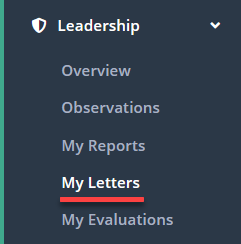
- Select Create new letter.

How to assign recipients to your letter
To start with, you will already be on the Assign Recipients page. This is where you can assign students to your letter.
- Select Assign Students.

- From the pop-up window, you can assign individual students, reg groups, school groups (such as classes, FSM, Pupil Premium, and other groups stored in your MIS or created in ProgressTeaching) and finally, year groups. Once you have selected your students, press Submit to assign them to the letter.
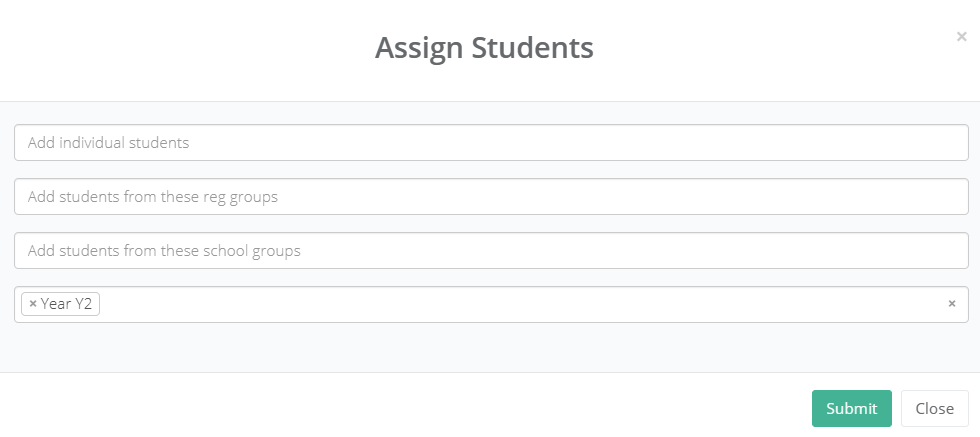
You can also assign teachers to notify them about the letter by using the Assign Teachers option. You can delete all assigned students by selecting Delete Student.

How to write your letter and create reply slips
- Once you've finished assigning recipients, at the top of the page select the heading Write letter to begin drafting your letter.

- Within the page, scroll down to the Edit Letter area. Here you can enter a subject for your letter as well as the body.

You can use Placeholders here within the email body.
Press Save when you've finished writing.
Creating reply slips
If you want to, you can create a reply slip. This allows parents to select various options in response to certain letters. You can collate and export the replies after the letter has been sent.
The Static options can be used if you want to write headings or guidance for different areas of the reply slip. These options include the following:
- Paragraph - creates a large box for text
- Header - creates a heading, for large, title text.
The Input options can be used if you want to create items for parents to choose from or fill out. These options include the following:
- Checkbox - creates a singular checkbox
- Text Area - creates a text box into which parents can type
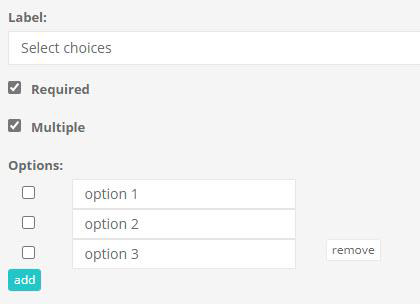
- Input List - creates a multiple choice list
- File - creates a space for parents to upload files.
To create a reply slip, select an option to populate the adjacent reply slip form.

Once you have selected an option, you can hover your mouse over it to edit, copy, or delete it

Editing an option will allow you to:
- Rename it (in 'Label')
- Toggle whether the parent’s response is required or not
- In the case of multiple choice ( i.e. the ‘input list’ option), you can check ‘multiple’ to allow parents to make multiple selections from the list of choices, as well as label each choice.
- Press Save when you have finished making adjustments to your letter.
How to add attachments to your letter
Once you've finished drafting your letter, at the top of the page select the heading Attachments to add any required files.

Browse for the file you want to attach and once it's been chosen, select Upload.
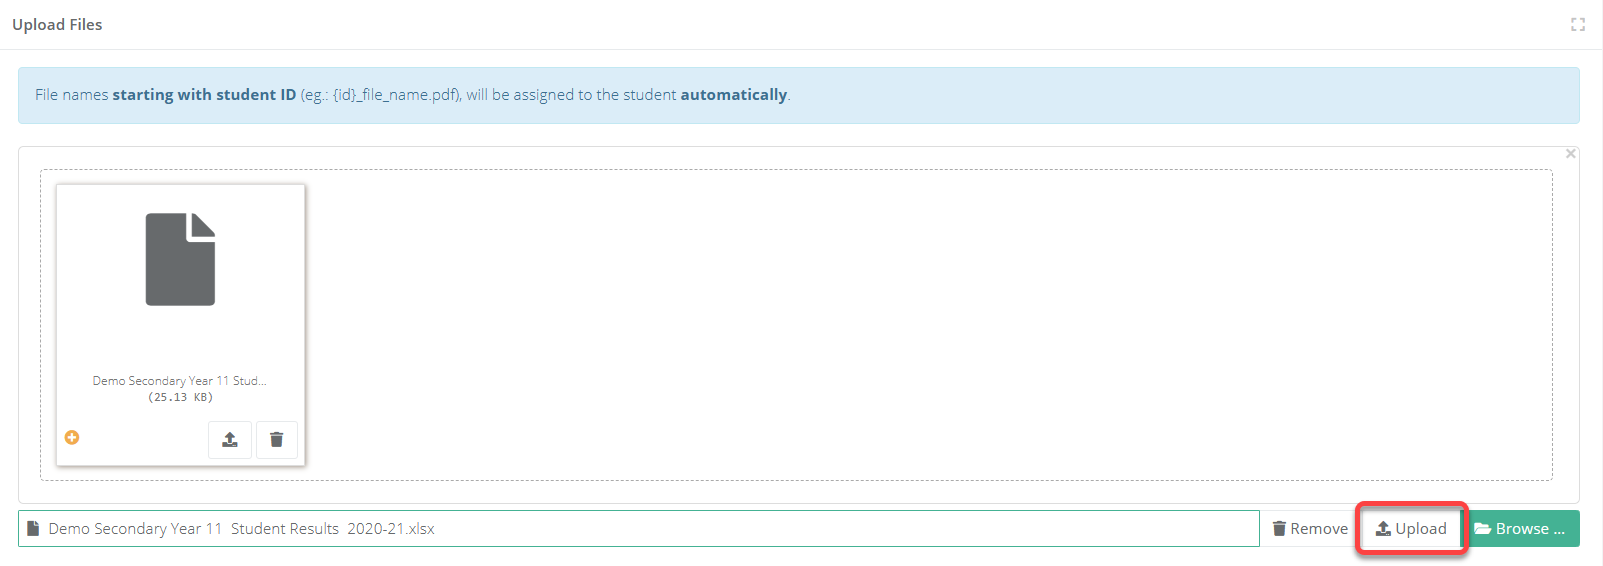
You will see the file appear in the Uploaded files heading on the page.
How to preview and submit your letter for approval
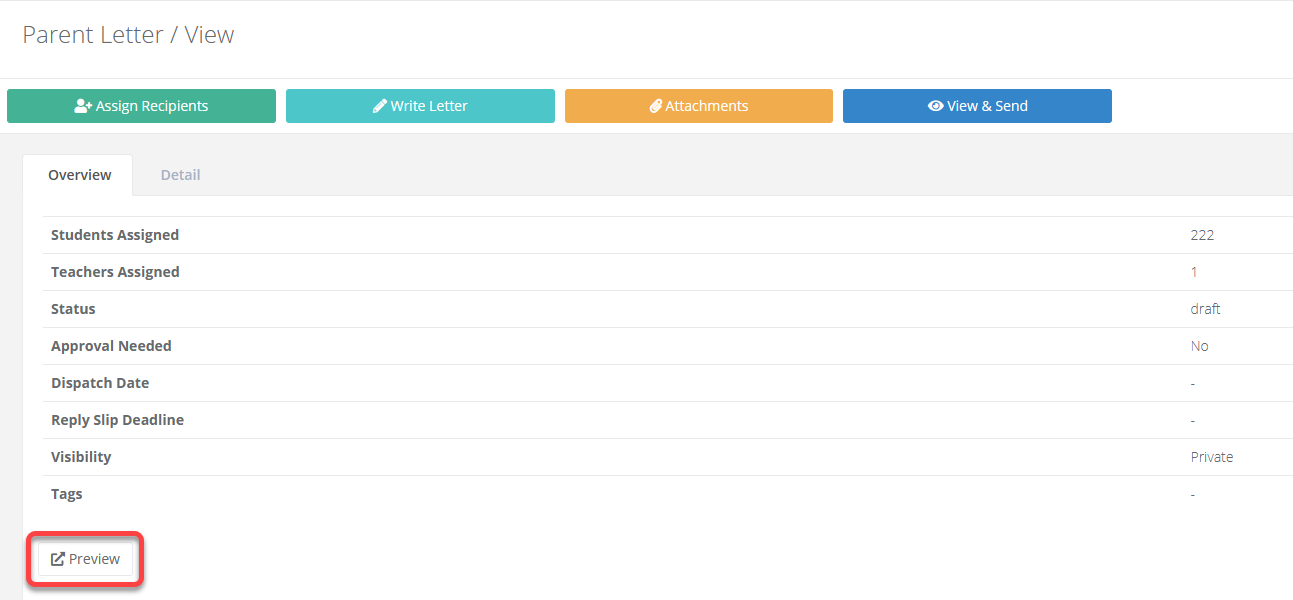
Once you've finished all previous stages, at the top of the page select the heading View & Send to preview the letter before submitting it for approval.

Select Preview to see a preview of the letter with the first recipient.
The system allows you to define the privacy of a letter as follows:
- Private - The letter is visible on the student page for permissioned users.
- Public - The letter is visible on the student page for all users.
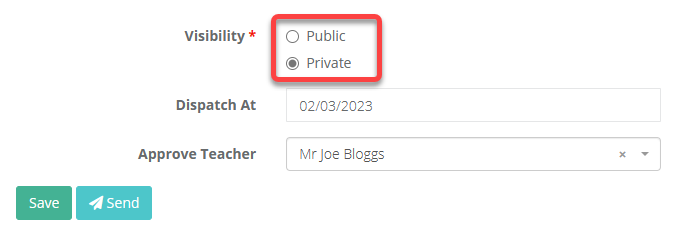
You can delay the date that the letter is dispatched to parents by setting a date in the Dispatch at field. The letter will be sent just after midnight in the early morning of your selected date.
If you require letters to be approved then you can set the staff member responsible for this under Approve Teacher.
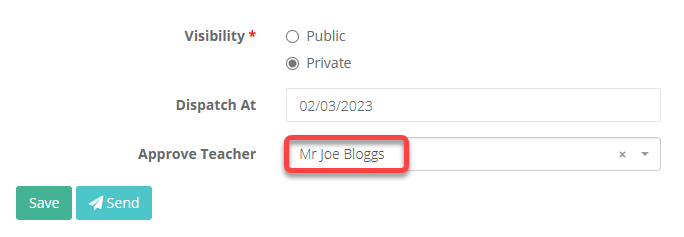
Press Send when ready to submit your letter for approval. The approver will be email notified to action the letter.
Once submitted, the status of the letter will display on the letters dashboard, select Leadership > My Letters from the menu to see this.


